
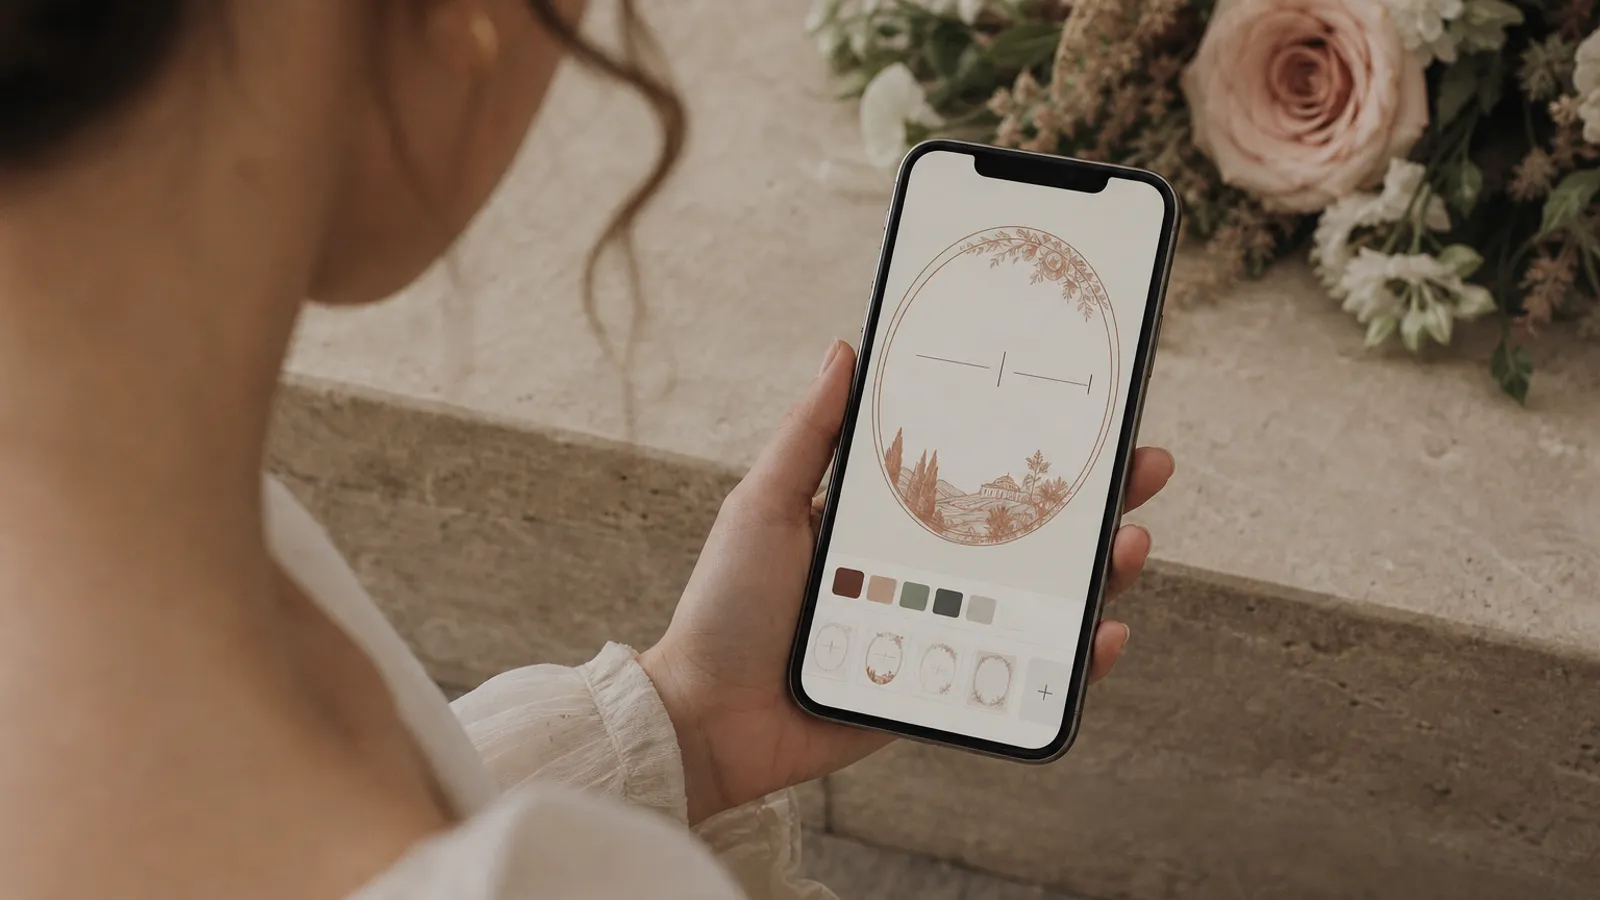
You can build a digital wedding invitation in the time it takes to drink a coffee. The reason it sometimes takes a whole weekend is that couples try to decide their wording, their look, and their guest list all inside the editor at once. Separate those jobs and the build itself is fast.
This is the complete tutorial, not just the pretty half. It runs from the first template choice through publishing, sending links, reading replies, and seating the confirmed guests. Each stage matches a real screen, so you always know where you are.
Step 1: Answer the setup questions before you polish anything
The creation flow starts by asking for exactly five decisions: your names, the date, the design, your languages, and how the invitation opens.
Two of these deserve more thought than people give them.
If you are still deciding what guests should receive, compare an image, PDF, wedding website and hosted invitation before choosing the tool. Once the format is clear, compare the best digital wedding invitation platforms by RSVP, delivery and full price before you commit your guest list.
The template. It sets the tone, the fonts, and the frame your words will live in. Match it to the wedding, not to a trend: a long garden lunch wants something light and botanical, a black-tie evening wants ink and restraint. If you are stuck, wedding invitation styles and formats walks through which look suits which kind of day. You can change the template later without losing your text.
The opening. Guests do not land on a page, they open something: an envelope with a wax seal, a velvet curtain, or a sky lantern. This three-second moment is what makes a digital invitation feel like an object instead of a form, so pick the one that matches your evening.
The languages step matters if your guest list crosses borders; we cover it separately in multilingual wedding invitations, and you can skip it entirely if everyone reads one language.
Step 2: Build the invitation from blocks
After setup you land in the editor: your content as a list of blocks on one side, a live phone preview on the other. Every change appears on the phone instantly and saves automatically.
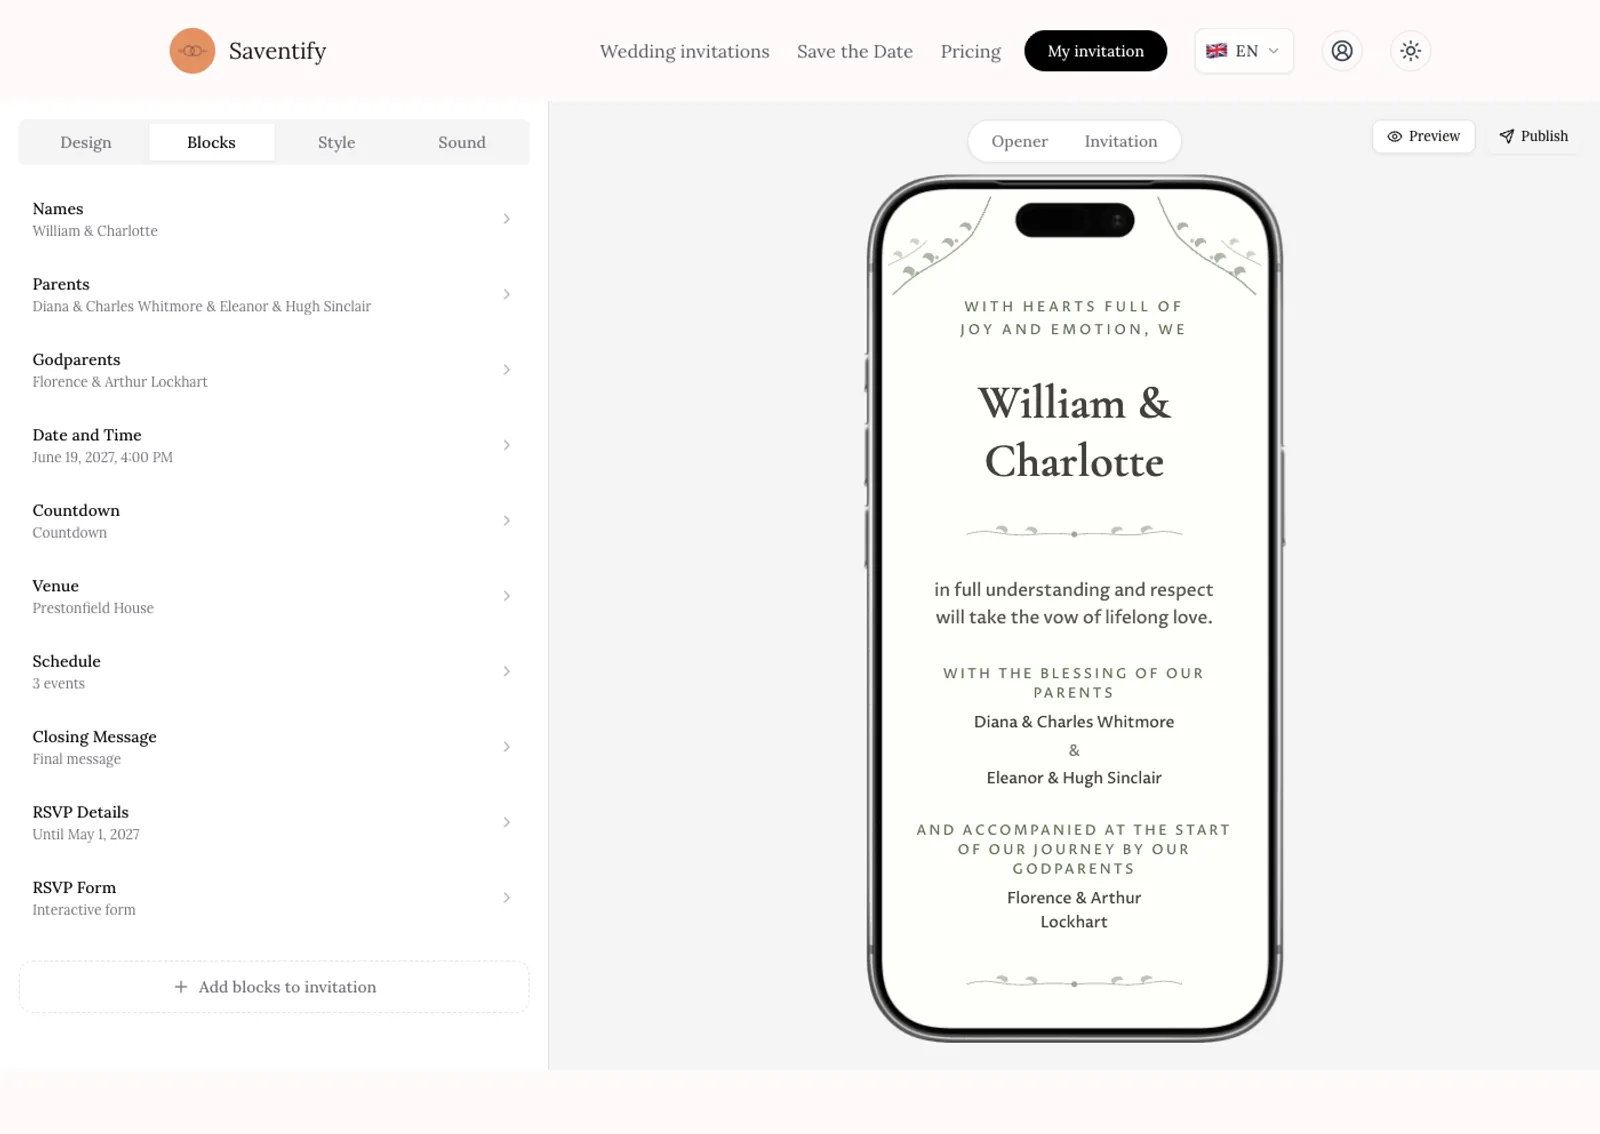
Get the load-bearing blocks right first:
- Names, date and time. Spelled the way they should appear everywhere.
- Venue. The address renders with a map, so a guest never texts you for directions.
- Schedule. Ceremony, reception, party. Guests plan babysitters and hotels around this.
- RSVP details. The reply deadline, shown clearly on the invitation.
Then add what your wedding actually needs from the block library: parents, godparents, a dress code, a menu, an our-story photo section, a countdown, a closing message. Anything you switch off stays available if you change your mind. The same editor covers a registry-office morning and a three-part celebration; the difference is just which blocks are on.
For the words themselves, write like you talk. Short lines beat long formal paragraphs on a phone screen. Lift a structure from our wedding invitation wording examples, then adjust it until it sounds like the two of you. For screen-specific phrasing, how to word a digital invitation covers the difference.
Step 3: Set up the RSVP form properly
This is the step couples rush, and it costs them later. The RSVP form block lets you choose exactly what to ask, and each question you switch on becomes structured data in your dashboard instead of a WhatsApp message you have to transcribe:
- plus-ones, and how many
- children, with their names
- dietary restrictions
- accommodation and transport needs
- which events each guest will attend, if you host more than one
- a message to the two of you
Ask for the strict necessities and nothing more; every extra field costs you a few completed forms. A deadline two to three weeks before the day gives you time to chase the silent. Vague RSVP timing is the single biggest reason couples end up chasing replies, and how to track wedding RSVPs gets into the fix.
Step 4: Preview like a guest, then show your partner
Always preview on an actual phone before anything else, because that is where every guest will see it. Open the full preview, read top to bottom, tap every button.
Then use the built-in partner review: the app makes a private link just for your partner, who reads the whole thing and either approves it or tells you what to change. Nothing goes out until you publish, so this is the cheap moment to catch a misspelled venue or a wrong start time.
Send a test to yourself first
Before you send to a single guest, send the link to your own phone. Open it as a guest would, complete the RSVP, and check the reply lands. Five minutes here saves you a confused message thread later.
Step 5: Publish it
Designing, editing and previewing are free for as long as you need. Publishing costs 67 euros, once. No subscription, no per-guest fee, and nothing gets locked: you can keep editing every block after the invitation is live, which matters the first time a start time shifts.
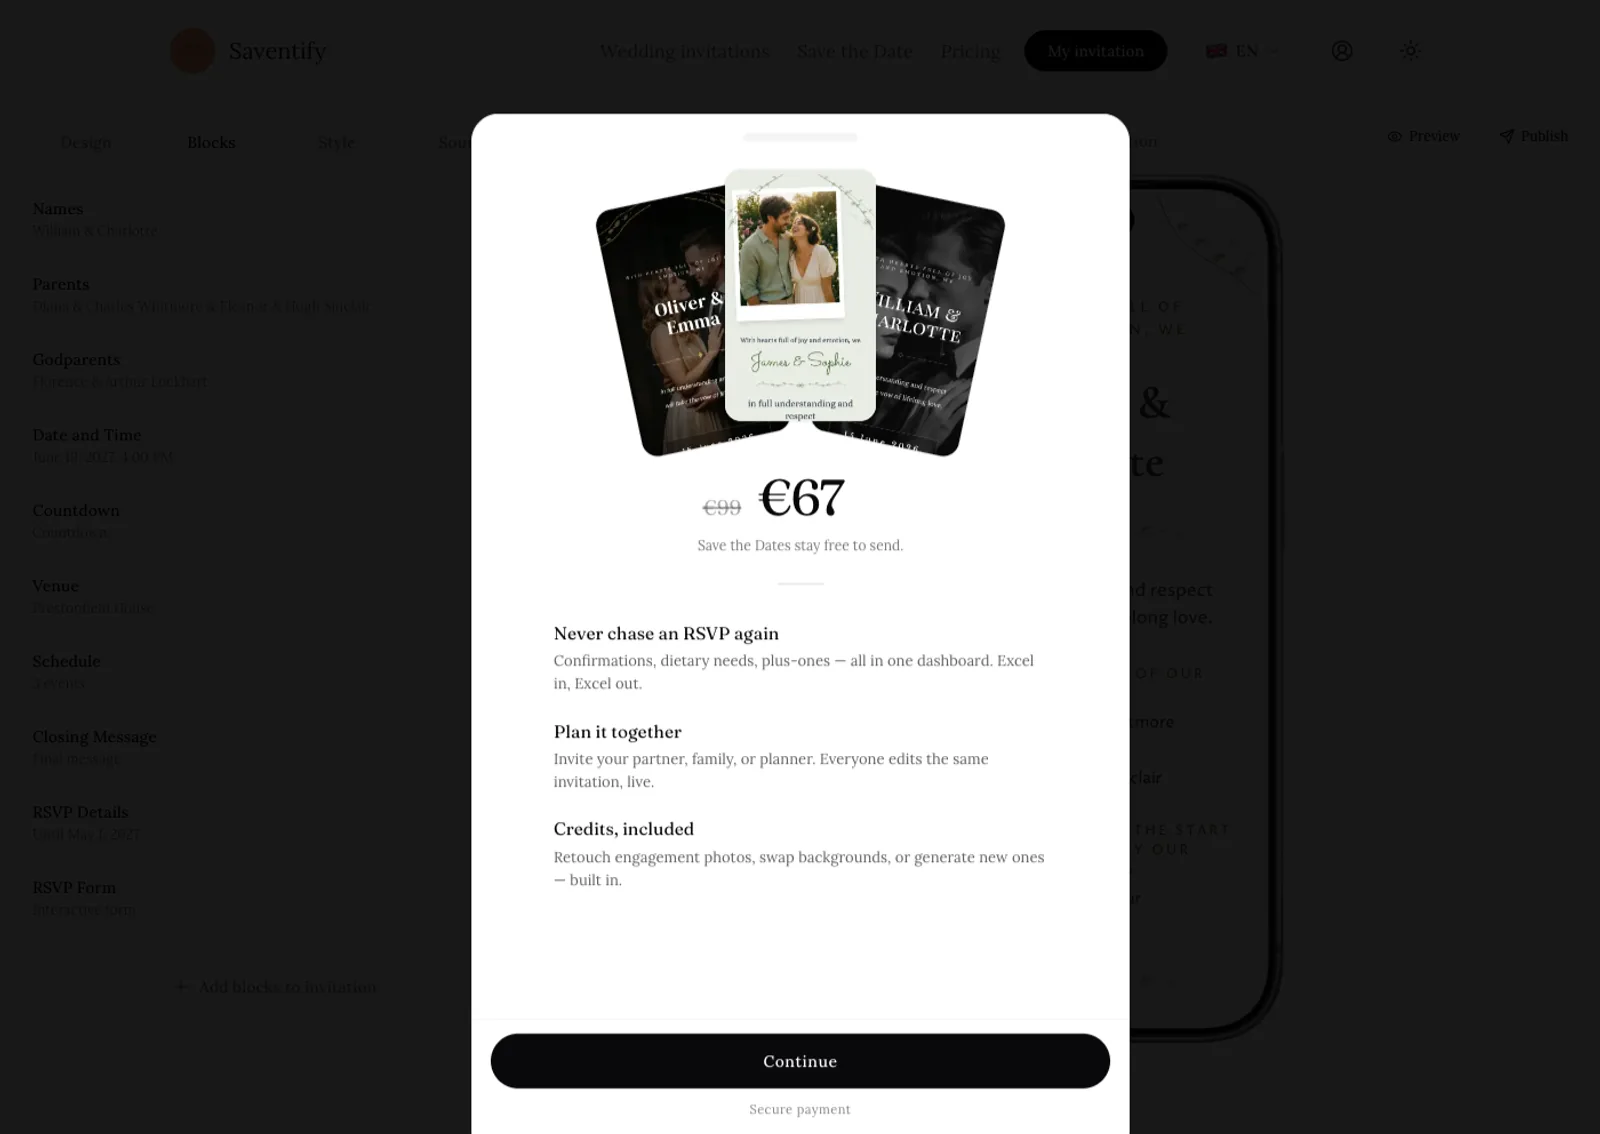
Publishing is also what activates your links. A draft's RSVP link will not accept replies, so publish before you send anything, even to the inner circle. The full price logic is on the pricing page.
Step 6: Send your links and collect replies
Sending stays in your hands: WhatsApp, email or a printed card with a QR code. Copy the published invitation link, send it through the channel that suits each guest and keep the recipient scope clear in the surrounding message. What to write around the invitation link covers 24 messages for people, couples and households, while when to send wedding invitations covers timing.
Every reply lands in the guests dashboard as it happens:
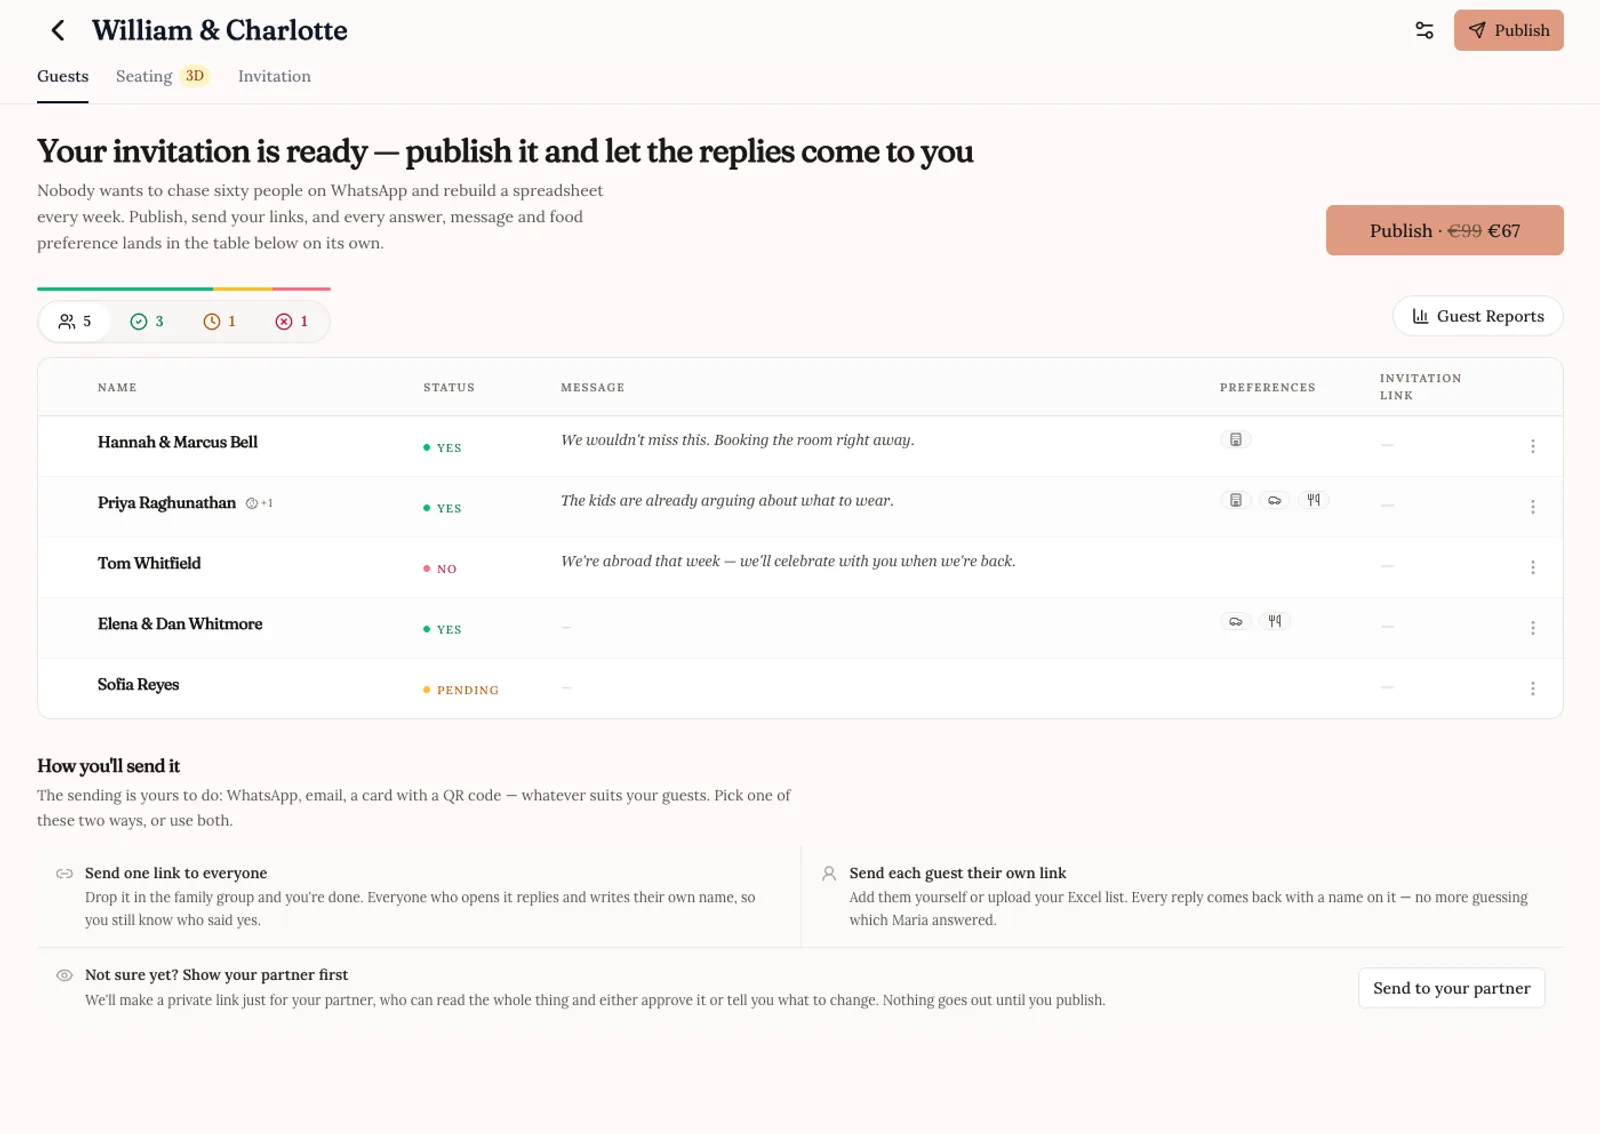
The reports view totals adults and children, dietary restrictions, accommodation and transport needs, and collects the messages guests leave. When the caterer or your planner asks for numbers, you export the whole thing to Excel in one click, tables included. No reminder emails go out on their own; nudging the silent cousins two weeks before the deadline is still your job, which is honestly how most couples prefer it.
Step 7: Seat the confirmed guests
Confirmations turn into the next problem: who sits where. The Seating tab on the invitation opens a visual table planner, included in the same one-time payment. Confirmed guests, plus-ones, children and meal details are already there, so nothing is retyped.
You place round tables, long tables, the couple's table and the venue's furniture in a room drawn to scale, then drag a family onto chairs. Guests who have not replied wait by the entrance rather than taking a seat you may need. A counter keeps score of who is seated against who is confirmed, and anyone you invited to help with the invitation can move people in the same plan.
Two things come out of it. You can save a picture of the finished room, and the Excel export lists each family's table alongside its headcount. A printed chart for the entrance, place cards or a caterer report still means using something else.
The unwritten rules of who sits with whom apply whatever tool you use. They are in wedding seating chart and table planning.
A realistic timeline
| When | What you are doing |
|---|---|
| Afternoon one | Setup flow: names, date, template, opening |
| Afternoon two | Blocks and wording, RSVP form questions |
| Before sending | Phone preview, partner review, publish |
| Send day | Invitation links out, replies start landing |
| After the deadline | Chase the pending, then seat the confirmed guests |
Most couples finish the build in two short sittings. The dashboard work then spreads comfortably across the weeks the replies take.
Questions couples ask at this stage
This whole flow sits inside our digital wedding invitations guide, which covers the format from the top if you want the bigger picture first.
Start your invitation now
Pick a template, add your details and switch on RSVP. The dashboard records each reply, and confirmed guests appear in the visual table planner.
Open the templates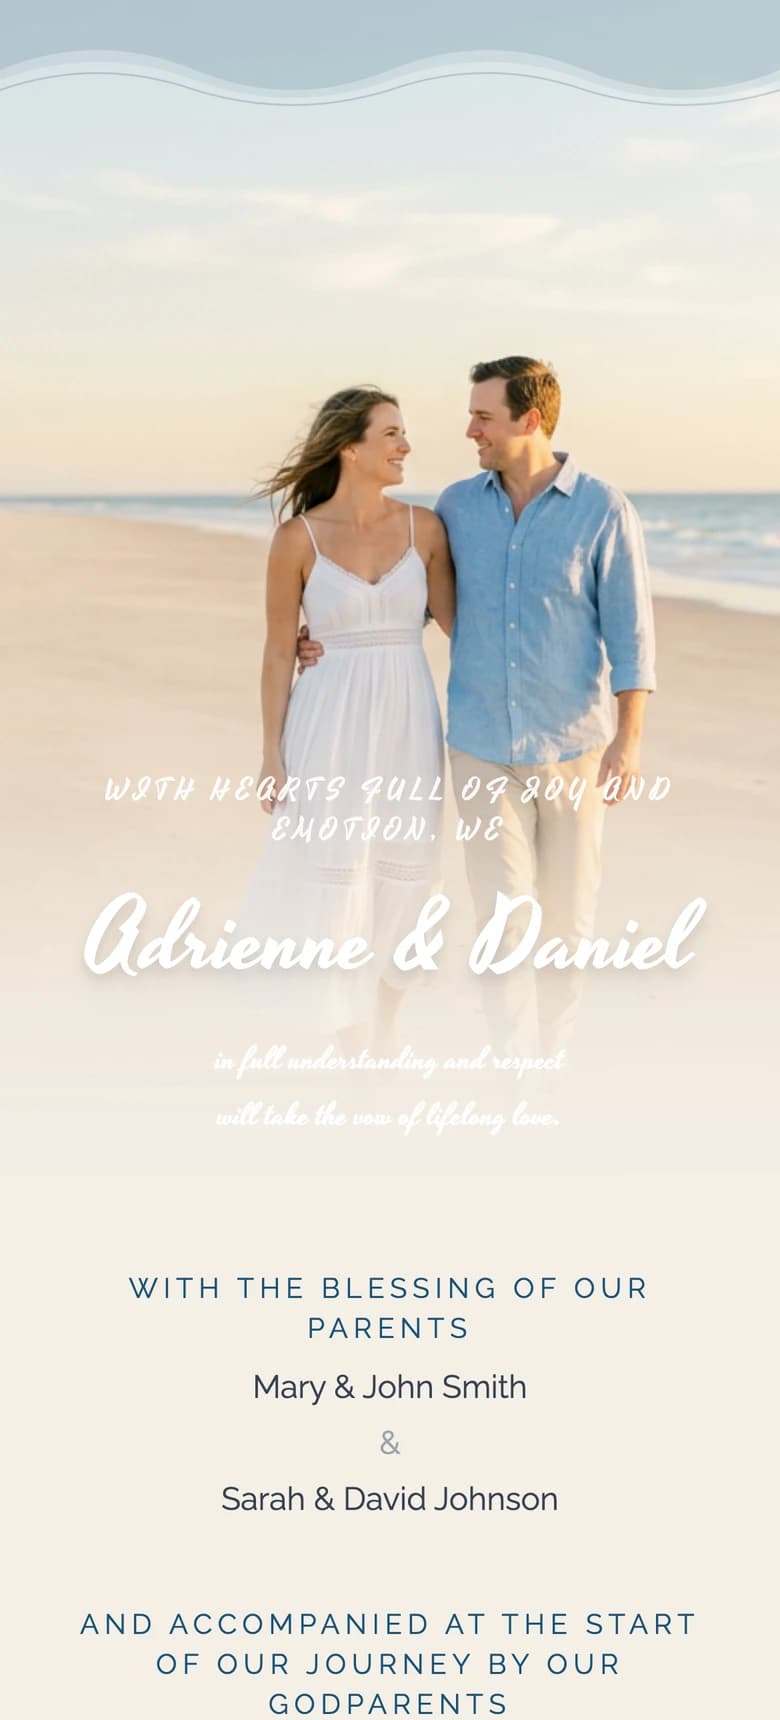

About the author
Wedding invitations, RSVP and save the date
Larisa writes the Saventify wedding guides. She covers digital invitations, save the dates, RSVP, guest lists and the templates couples actually send.
All articles by LarisaTable of Contents
- Step 1: Answer the setup questions before you polish anything
- Step 2: Build the invitation from blocks
- Step 3: Set up the RSVP form properly
- Step 4: Preview like a guest, then show your partner
- Step 5: Publish it
- Step 6: Send your links and collect replies
- Step 7: Seat the confirmed guests
- A realistic timeline
Authors
- Larisa
Wedding invitations, RSVP and save the date
Table of Contents
- Step 1: Answer the setup questions before you polish anything
- Step 2: Build the invitation from blocks
- Step 3: Set up the RSVP form properly
- Step 4: Preview like a guest, then show your partner
- Step 5: Publish it
- Step 6: Send your links and collect replies
- Step 7: Seat the confirmed guests
- A realistic timeline
Authors
- Larisa
Wedding invitations, RSVP and save the date