
- Published on
One Wedding, Multiple Languages: How to Invite an International Guest List Without Duplicate Invitations
Authors
- Larisa
Wedding invitations, RSVP and save the date

Somewhere between the engagement and the guest list, international couples discover a quiet logistics problem. Your grandmother reads only Polish. His cousins in Lyon will squint politely at English. Your university friends read nothing else. Paper solves this badly: you either print separate versions and repeat your proofreading for every language, or you print one crowded multilingual card where each language gets less space and none of the warmth.
Mixed-nationality couples are not an edge case. A Eurostat study of the 2008 to 2010 period estimated that about one in twelve married people in Europe was in a mixed marriage, and the share had grown in most of the thirty countries measured. That is a lot of wedding tables where multiple languages sit side by side.
Our opinion, stated plainly: for an international family, one editable multilingual invitation is better than disconnected copies. Not because it is easier for you, although it is, but because it keeps every reply in one place and every correction in one file. Here is how to build one, step by step.
Before you start
You need three decisions made before you open any editor:
- Your primary language. The one you and most guests share. Everything else hangs off it.
- The additional languages that earn their place. A language earns its place when someone you love would otherwise need a translator, not when it merely sounds nice. Saventify supports multiple languages in a single invitation, which in our experience covers the combinations most European families need.
- A proofreader per language. You will write your own words in each language, so line up the aunt or friend who can check them. Machine translation reads like machine translation, especially in a sentence that is supposed to sound like you.
If you have not built a digital invitation before, the general walkthrough in how to make a digital wedding invitation covers templates, wording and RSVP setup. This tutorial assumes those basics and focuses on the language layer.
Step 1: Write the whole invitation in your primary language first
Resist the urge to translate as you go. Finish the invitation completely in one language: names, schedule, venue, dress code, the personal message, the RSVP questions. Two reasons.
First, wording changes. Couples rewrite their message four or five times, and every rewrite you make before adding languages is a rewrite you make once instead of repeating it across every version. Second, the structure you settle on becomes the shared skeleton. In Saventify the design, photos, schedule and RSVP form are shared across languages; only your prose differs. A finished primary version means the other languages inherit a stable frame.
For the words themselves, our wedding invitation wording guide has structures that survive translation well. Short sentences travel. Idioms do not.
Step 2: Add your languages
When you create an invitation, the setup flow asks about languages directly, with a simple grid of flags:
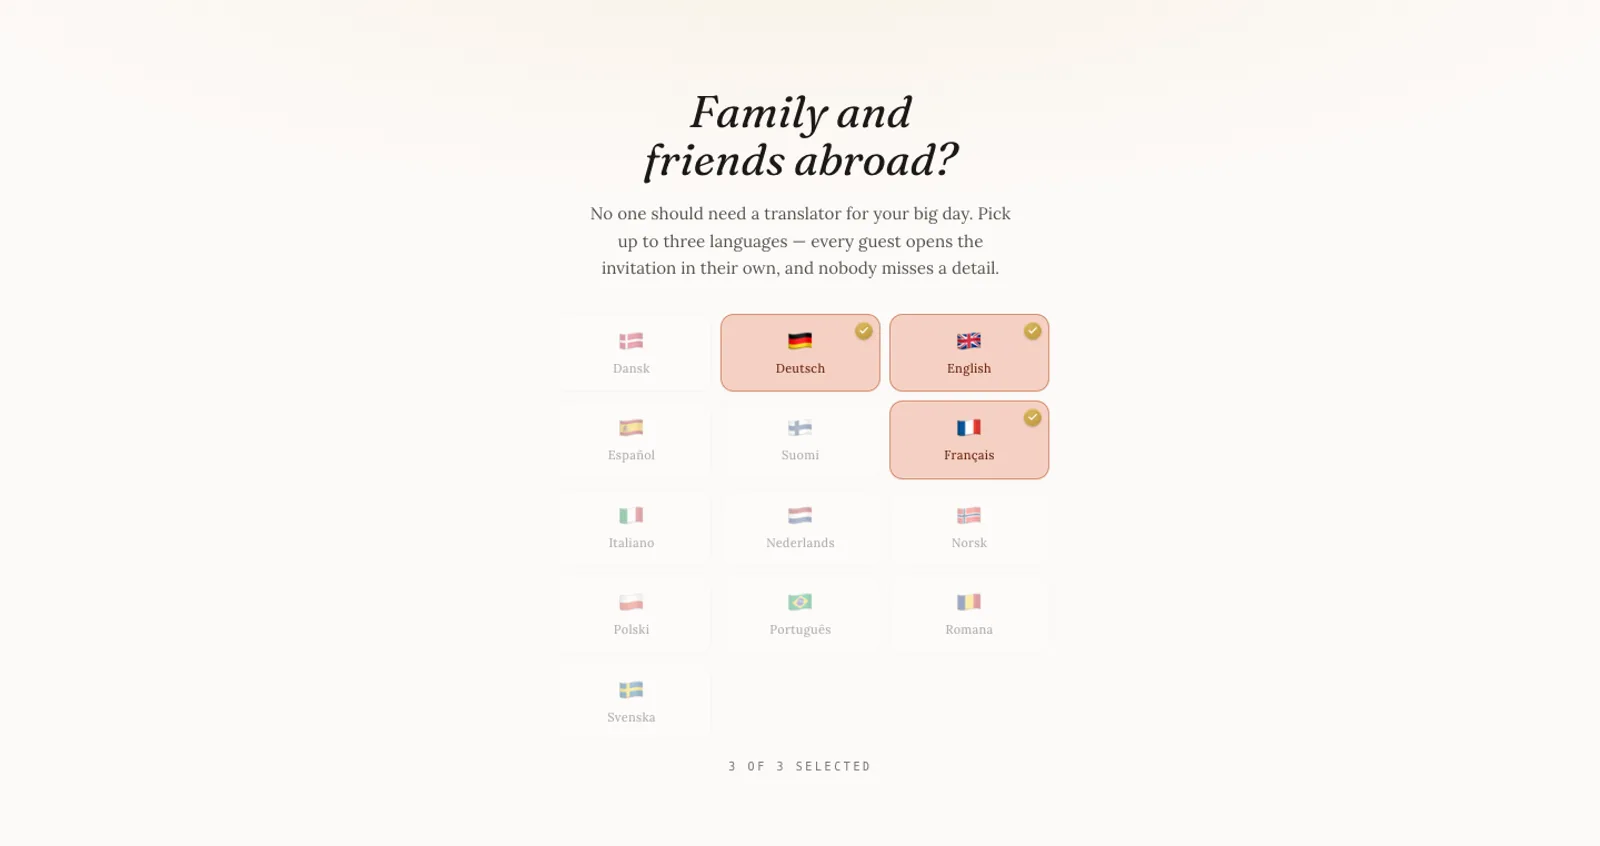
You can also add or remove languages later from the invitation settings, so nothing here is final. Your original language is marked as such and cannot be removed; each added language appears as a chip that shows a ready mark once its translation is complete.
One honest note on what the languages cover: the invitation page, its labels, dates and the RSVP form a guest fills in are all delivered in the guest's language. The editing interface is also available in multiple languages. What the app does not do is write your personal message for you, which brings us to the actual work.
Step 3: Translate your words, and only your words
This is the step couples expect to dread, and it is smaller than it looks. Saventify translates the framing automatically: section headings, date formats, the RSVP buttons, dress code labels. What remains is genuinely yours, the message, the tagline, the closing line, event names, dish descriptions if you host a menu.
In the editor, every translatable field carries a small language switcher on its label row. You write the English message, flip the field to French, and write the French version in place. Fields you have not translated yet fall back to your original language, so a half-finished translation never shows a guest an empty page.
Three practical rules from invitations we have seen work:
- Translate meaning, not sentences. "We can't wait to celebrate with you" has a natural French shape that is not a word-for-word transfer. Write the sentence a native would write.
- Keep names and places identical everywhere. The venue name, the town, your names: never localized, always copied exactly. A guest cross-checking languages should see the same proper nouns.
- Let your proofreader read it on a phone. Send them the preview, not a text file. Line breaks and tone read differently inside the real design.
Step 4: Send each guest the right language
Here is the part that makes one invitation beat separate copies. Your invitation has a single link and a single guest list. When you copy the link to share it, a small picker labeled "Copy link in" lets you choose which language that particular copy opens in. The link for your French cousins opens in French; the link for your colleagues opens in English. Same invitation, same RSVP, same list.
Nothing is duplicated behind the scenes. Every reply, regardless of the language the guest used, lands in the same dashboard with the same headcount and exports to the same Excel file. If you have juggled several WhatsApp broadcast lists against separate forms, you know exactly what this saves. For channel tactics, sending wedding invitations by WhatsApp, email or link covers the delivery half.
Real previews
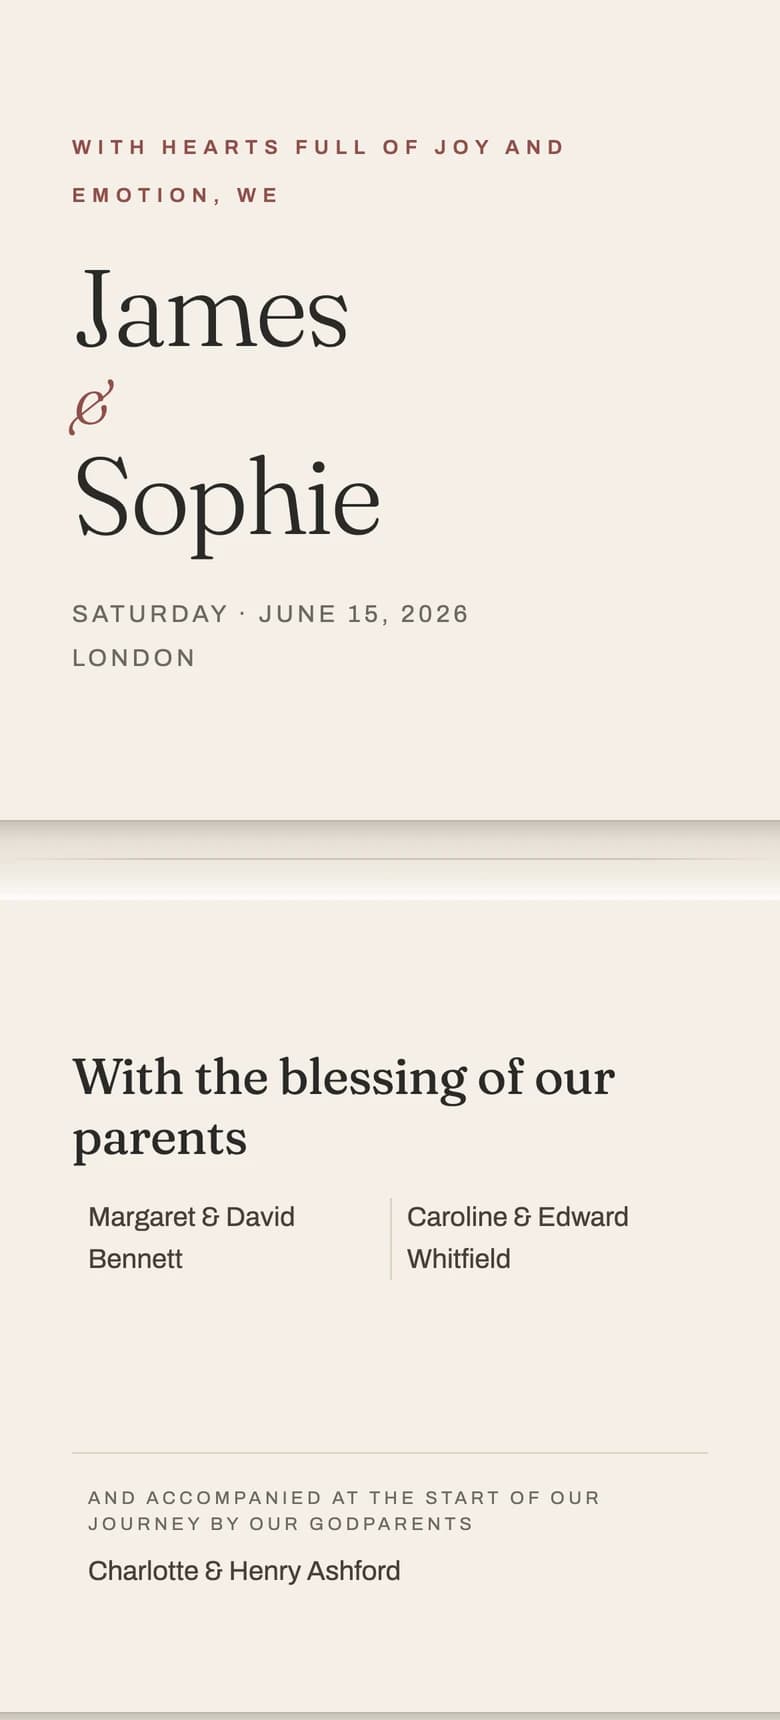
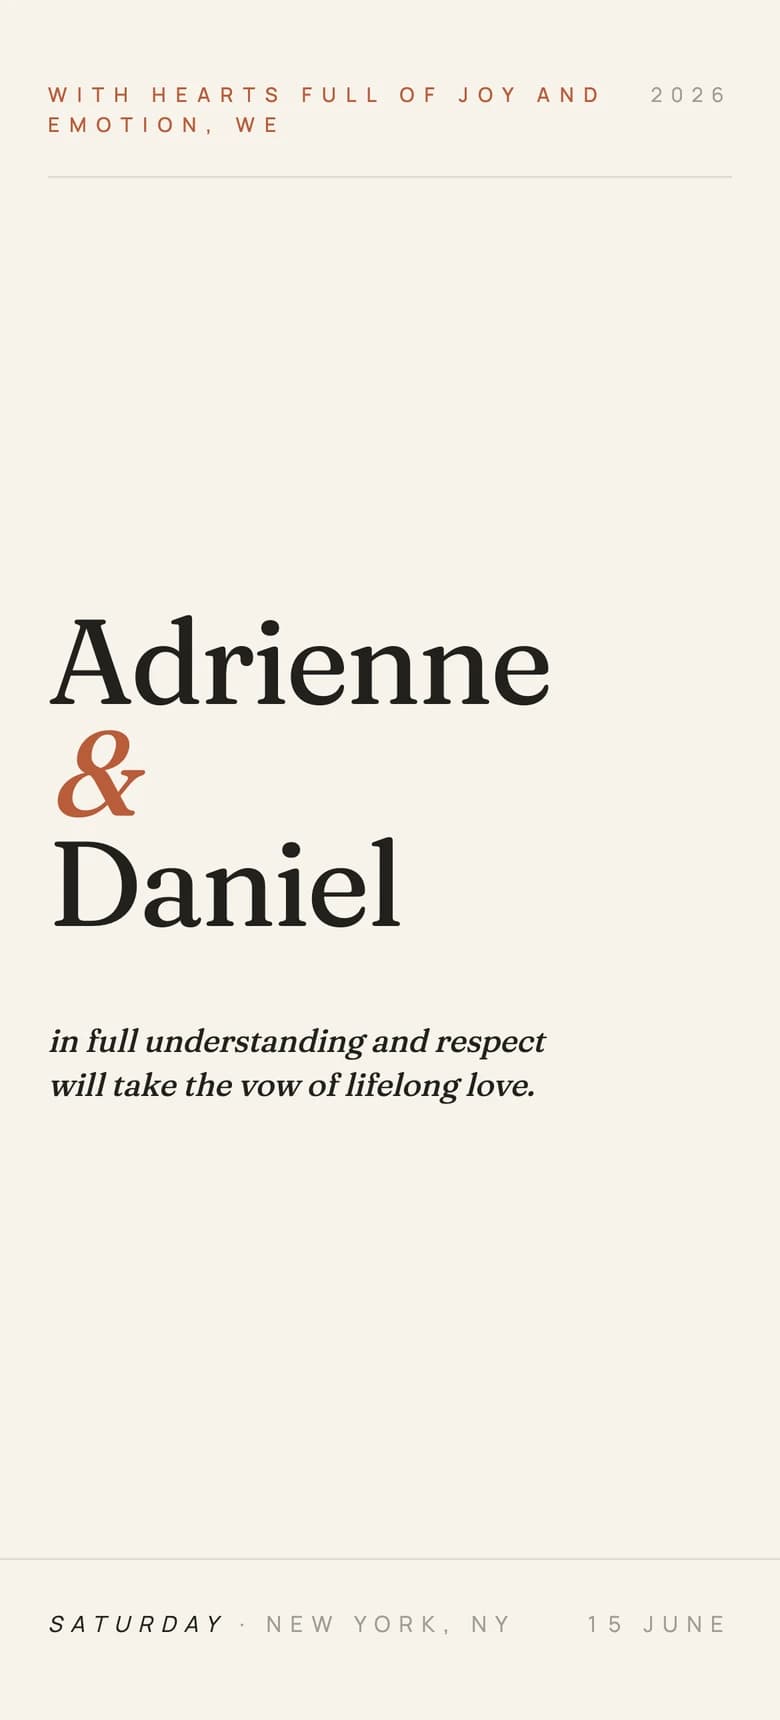
Open a template the way your guests will
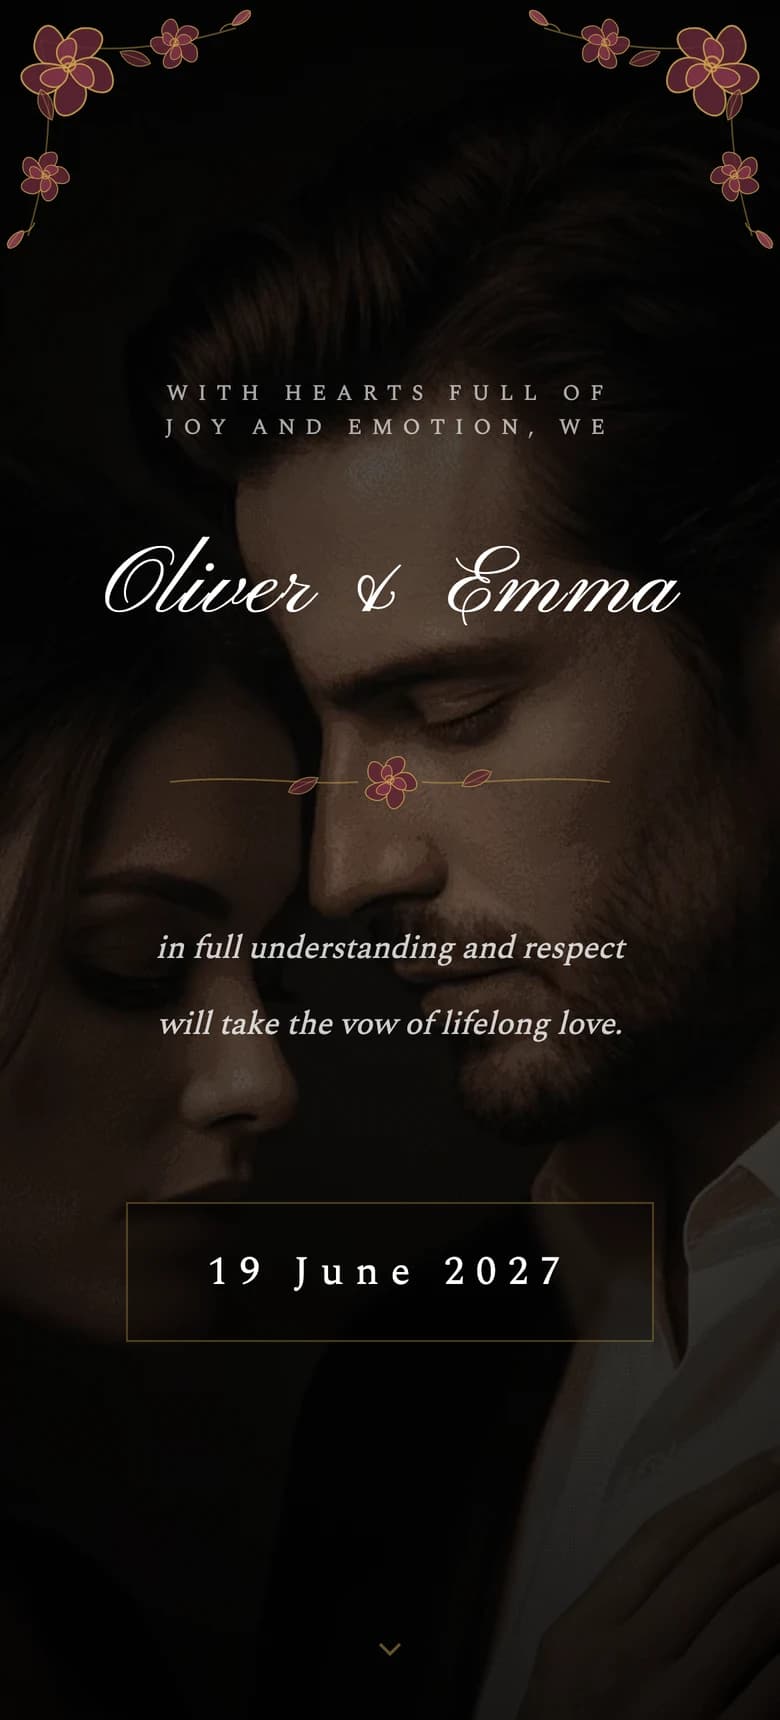
Every one of these can carry your own wording in multiple languages over the same design and the same RSVP. Open one on your phone and picture your message inside it.
Browse all templates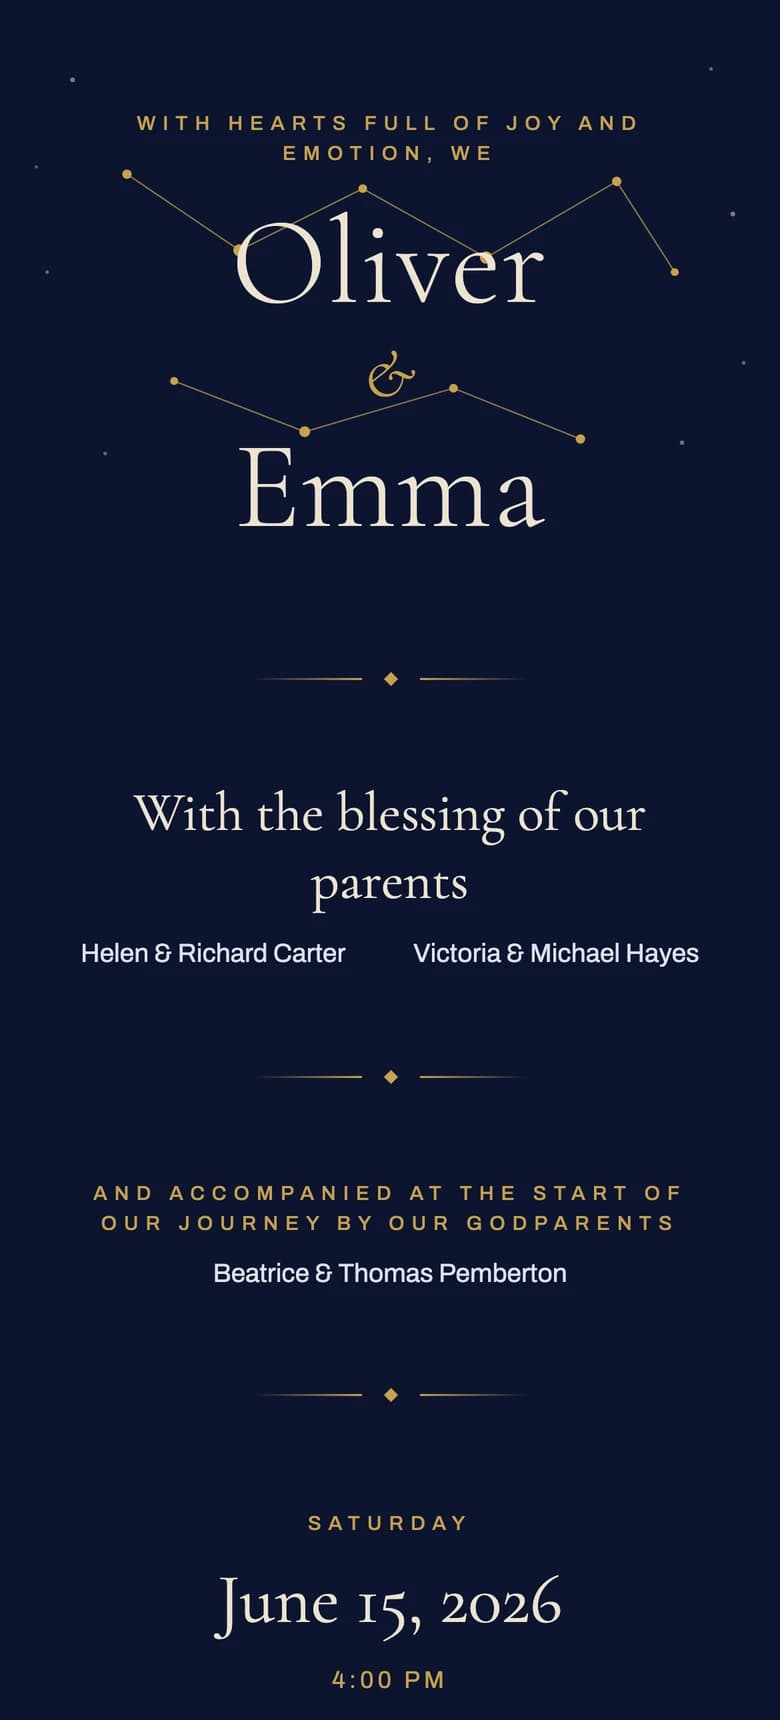

Step 5: Verify each language like a guest
Before you send anything, run the guest test once per language:
- Open each language's link on a phone, not a laptop.
- Read the personal message aloud in that language. If a sentence sounds translated, it is.
- Check the dates. Date formats switch with the language automatically, so confirm the day and month read correctly in each one.
- Fill in the RSVP in the language your strictest relative will use, and confirm the reply appears in your dashboard.
- Have your proofreader do a final pass inside the live invitation, not in a document.
A missing translation is not a disaster, the field simply shows your original language. A wrong venue name in one language is worse, because it is confidently wrong. Verification is twenty minutes; do it.
What this costs
Building and translating the invitation is free for as long as you need. Publishing it costs 67 euros once, with unlimited guests and no per-language fee, so adding another language never becomes a budget decision. The price and what it includes are on the pricing page.
One invitation, every grandmother reading in her own language, one list of replies. Start with the language step and see how your names look in the design: create your invitation.
About the author
Wedding invitations, RSVP and save the date
Larisa writes the Saventify wedding guides. She covers digital invitations, save the dates, RSVP, guest lists and the templates couples actually send.
All articles by Larisa